To make the project board appear please follow these
6 simple steps.
1. Make a design post.
2. Most Important: Fill out the client name on the design post, that is what appears in alphabetical order on the Project Board.
THIS IS THE MOST IMPORTANT NOTE: The “Client Email” must match exactly with the user you signed them up as, if you want them to only see the designs you’ve made for them. When they login if you have have signed them up with a user role of DAS-Client they’ll be able to see those designs on there project board. Clients will not see any other on the DAS but the project board. They cannot edit designs or anything else. To make the repetitive task of adding the same email to each design easier you can use our Select User and Email, DAS Extension.
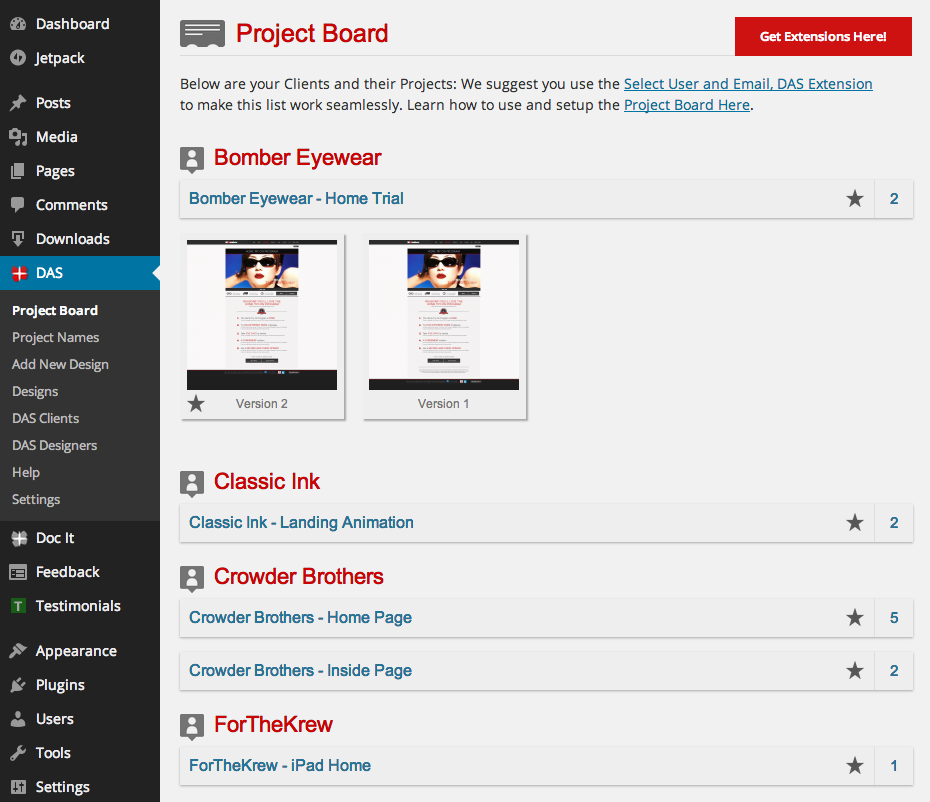
Project Board Client Name Image Example:
![]()
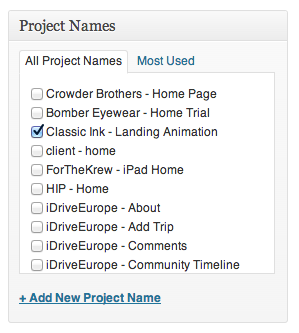
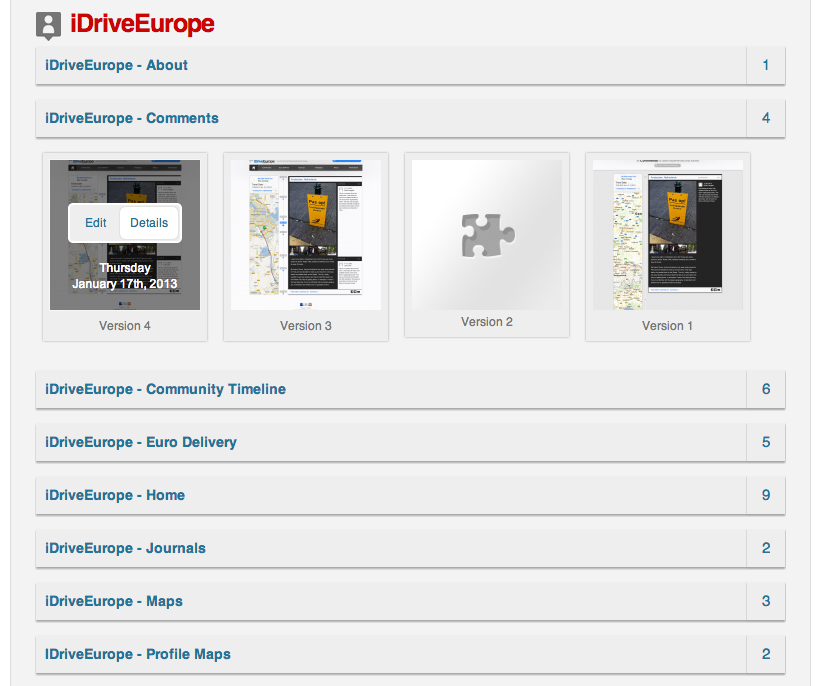
3. You must Create a Category for your client. That is what appears under your client name and will also display the total of version to the far right of every category. This is also required because that is what will group your versions together for that project.
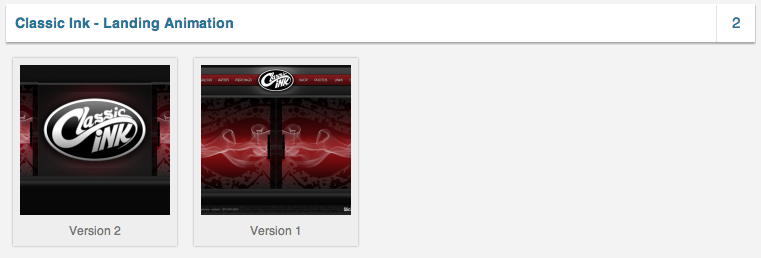
Here is an example image of the designs being grouped together on your project board.
4. If you have filled in the rest of the details on the post page, that information will be displayed too, as in this next example image.
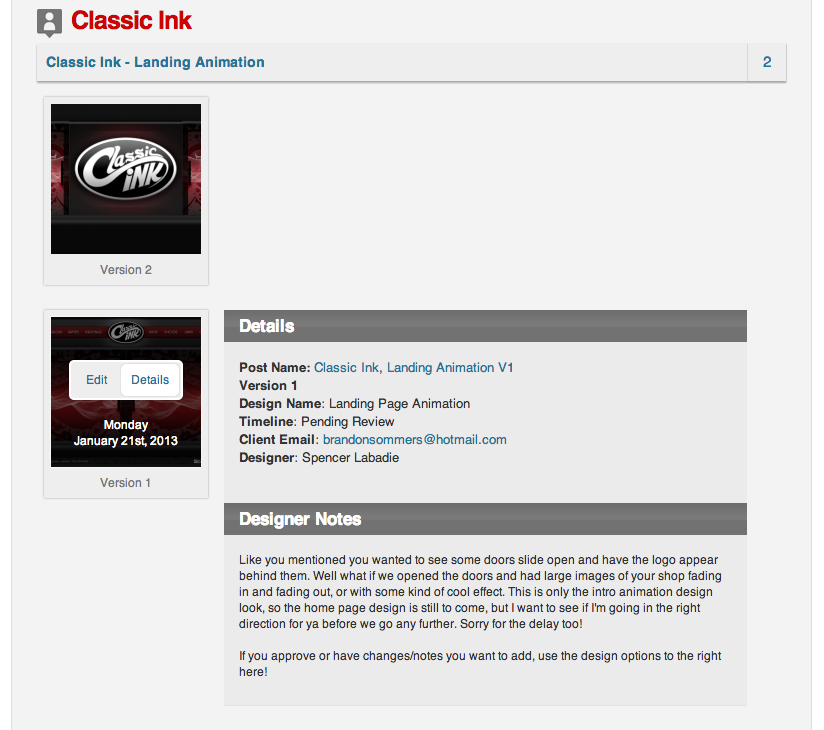
5. To have the thumbnail appear as depicted all you need to do is add a featured image to your design post. That is located in the bottom right column just below your Post Template options.
IF YOU DO NOT SEE THIS OPTION… make sure you have it checked in the ‘screen options’ created by wordpress. You can find that menu tab in the top right corner of your screen.
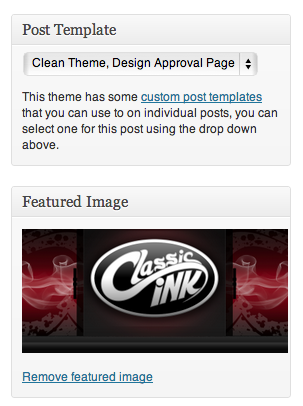
6. All you have to do is click on one of the categories and the box will slide open revealing the designs version you have for that project. You can also hover over the design version to get more details too. Additionally if you do not add a featured image you will see the puzzle piece instead.
That’s it, now your all organized in one place. More time for Designing and less time searching for designs posts.